If you have a professional record label or you are just an evolving recording artist, building a recording studio might be just the ticket to set you over the top.
Creating a simple privately owned recording studio has never been easier. A well-insulated bedroom and about $3,000 in decent equipment will provide you with the basic necessities to capture your inspired tune the moment it hits you.
But if you are looking to step your own game up or commercially record other artist, you are going to have to build a proper acoustic sound studio to optimize the sound and mitigate the interference and quality of sound loose.
Key Takeaways
- Building a recording studio requires careful planning, from identifying your goals to selecting the right space and contractor.
- A professional studio design must integrate soundproofing, room shape optimization, and acoustic treatments to achieve premium sound quality.
- Construction involves complex elements like STC-rated walls, bass traps, and HVAC noise control — each critical to sound clarity.
- Hiring a contractor experienced in studio construction ensures technical precision and eliminates costly design mistakes.
- With expert planning and craftsmanship, you can create a recording studio that enhances creativity, performance, and long-term value.
Did You Know?
“Did you know that even small construction flaws—like a single unsealed wall joint—can reduce your recording studio’s soundproofing efficiency by up to 40%? Precision in design and construction makes all the difference in achieving perfect sound isolation.”
Building a recording studio has many moving parts to synchronize to have the best-finished soundtracks.
Planning and preparing to build a recording studio near me is indeed a required painstaking process of researching and developing detailed elements essential to achieving your goal.
From clearly defining your goals to testing the equipment, professionally building a sound studio quires time, money, and careful planning.
What does the recording studio building process include?
- Determine your needs
- Finding a location
- Find a sound studio general contractor
- Designing your recording studio
- Building out your sound studio
- Testing your equipment
Determining Your Needs
A professional recording studio can be as small as 500 sq ft and as large as you may need.
Understanding what you want and what you need are not always the same thing.
If your needs are personal for recording your own work, this can remain simple and only require a small space.
If your needs are commercially driven, it can get complicated for developing a facility for your current needs and with a plan to expand for your future growth needs.
But before you commit to a location, you will want a general idea of the amount of space you will need.
Other need factors that should be identified are if you are going to have multiple recording studios in the building, you will need sufficient client parking, a reception area, a kitchen area, restrooms, and a business office.
Getting your arms wrapped around these space-planning needs will serve you well for the next step in the process.
Find a Suitable Location
Finding a location for your sound studio can be a challenge. The first decision you will need to make is to rent or own.
If you are planning on owning the building then the next decision is if you want to build ground up or remodel.
Building a recording studio will likely cost more and take longer to occupy than purchasing an older building to remodel.
Both have their advantages and disadvantages to evaluate before taking action. If you would like to learn more about these buying or leasing questions, visit the link.
If you plan on renting, it often comes down to the cost of the recording studio build out over the best term of the lease.
The recording studio build-out cost is much more than the typical owner’s tenant build-out allowance offered.
So, protecting your build-out investment with a longer-term lease or an option to buy is key to making a workable commitment.
Find a Building Contractor
Locating a building contractor is not the problem, but finding one that understands the intricate details of building a sound studio is a different matter.
The design and construction of a recording studio are weaved together.
One cannot be executed without the other. From the space planning to the mass air mass construction options, designing and building a music studio must be a collaborative approach.
Design your Sound Studio
The design process begins with preparing a preliminary design. The preliminary design starts with platting the general space planning layout of the rooms you have already planned from your needs lists.
In the case of remodeling an existing property, the need list rooms are fitted to the existing size of the building’s shell.
While in new commercial construction the building floor plans have far greater flexibility while drafting.
Depending on your personal needs in a recording studio, most professional sound studios have the following rooms;
- Recording Booth
- Mixing Control Room
- Restroom
- Storage
- Office
- Reception Area
In addition, there may well be multiple sound rooms as well as video recording/screening rooms.
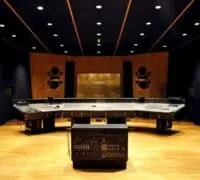
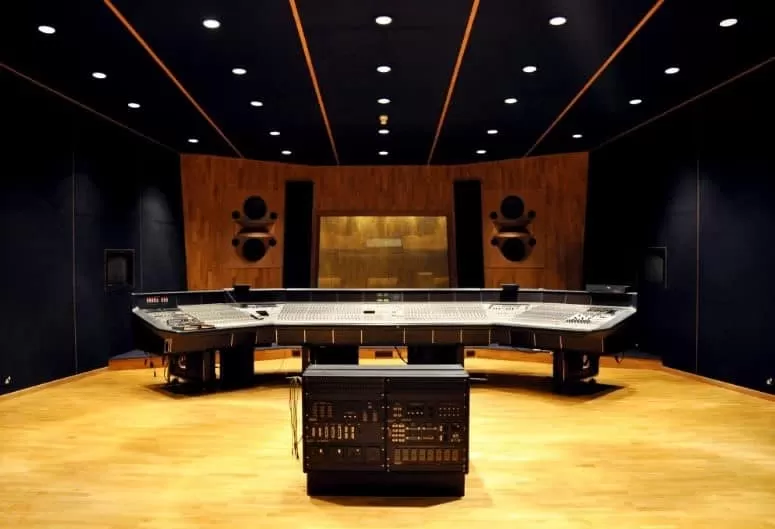
Recording Booth & Control Room Construction
The general size of the recording booth and control rooms depends on a number of factors.
Like if you will be recording with instrumental groups or just vocals, the size and amount of equipment, and the need for interested 3rd party visitors.
The room shape design should avoid 90-degree wall corners and have a 10ft room height, when possible, for the ideal acoustical design envelope.
This is due to the sound frequencies bouncing off of ceilings and walls. Lower ceiling heights without sound clouding can cause sound interference, resulting in echoing.
Since the construction technique of building recording studios is designed to be a box inside a box style of erection and are often irregular rectangular shaped spaces, fitting the recording alongside the sound room can usually be accommodated.
You should plan on a loss of about 20% of the gross airconditioned space to usable area, due to the loss of dead air space of the irregular-sized rooms and mass air mass construction system.
Sound studios normally require a complete gutting of an existing building to prepare the mass air mass construction techniques required.
This is the process of wall, ceiling, and floor construction that addresses the de-coupling of walls, dampening of frequency through the mass layering of drywall, and the absorption of vibrations through foams and wall diffusers.
Both the recording booth and control room should also have the appropriate amount of space calculated for low-frequency bass traps.
These are spaces for the absorption of bass and drums sounds, so to avoid them overwhelming other higher frequencies.
STC Ratings
The sound studio and recording studio are designed to a performance standard communicated in a ratio referred to as the sound transfer coefficient STC.
The higher this value the better for dampening the sound vibrations in adjoining spaces. This becomes critical when you have multiple sound studios in adjoining rooms.
Depending on a long list of variables, calculating mass air mass for a sound room will determine the quality of the soundproofing required.
The soundproofing quality control standards begin at a minimum STC >55 as a threshold for the sound studio envelope. This number can go higher depending on other factors that we will discuss.
Sound is frequency vibration levels that travel in waves through space.
In a sound studio, these frequencies bounce off the walls, floors, and ceilings. At lower levels of STC ratings of the walls, floor, and ceilings, the frequency vibrations will transfer through the structure’s cracks, penetrations, and openings.
These frequency vibrations will also transmit through the building materials. Soundproofing is a method of absorbing, dampening frequencies, and de-coupling of building materials to properly achieve the desired rating.
Soundproofing Walls
There are various methods of properly soundproofing walls. As mentioned, avoiding rectangular room shapes and hard 90-degree corners are best practices.
Using lumber instead of metal studs, de-coupling the attachment of materials like; wood to wood or wood to concrete with neoprene is an effective method.
The use of fiberglass insulation instead of spray foams is widely accepted and sealing cracks, seams, penetrations, and joints with a quality sound caulk makes a big difference in trapping sound transmission.
Use acoustic panels for small recording spaces and where you cannot use angles in the shape of space. The acoustic foam should always be fire-rated material.
Soundproofing Ceilings
The same principles apply to ceilings as do walls when it comes to soundproofing. As mentioned, ceiling heights are an important consideration.
When you are dealing with ceiling heights lower than 10ft, some form of sound-absorbing fireproof foam or sound cloud methods should be used for sound quality control.
Soundproofing Floors
Concrete floors should be soundproofed with sound-absorbing carpets or mass-loaded vinyl cover materials. These are both good products to use to absorb sound frequencies. Second-story floors can be a problem on a number of counts.
First most second-story structures are plywood over floor trusses or nominal structural lumber. These floors as built have a very low STC rating, as anyone who has lived in a two-story house with kids can testify to.
The properly soundproof a recording studio, you must layer the top side of the second floor with plywood and sandwich them with the soundboard.
Although special attention should be used when it comes to the effect this will have on the stair’s top riser. Adding 1” – 2” of decking to the second floor will have an adverse effect on the top stair riser height.
Soundproof Doors
Soundproof doors are normally steel doors with a solid core of fireproofing. They have a special threshold that retracts when the door lever is opened and comes down when the door is closed.
They are part of an assembly of a steel door jamb that is also filled with fibrous fireproofing.
Soundproof Windows
Soundproof windows are made of laminated glass or plexiglass, wood frames, and de-coupling material to illuminate the glass vibrating with the wood.
For interior windows, there should be two layers of glass separated by dead air space. With exterior windows, the same principle applies, but air vent holes must be left in the window jamb to allow for thermos circulation.
This is due to the air space between the outside window temperatures and the indoor glass temperatures interfacing.
These dynamic changes can cause the space to fog up or the glass to crack.
Soundproofing HVAC Airflow
The force of airflow must be reduced by calculating the use of additional ductwork. By increasing the number of ducts and introducing curves and S’s to their ductwork route will increase the static friction to reduce the airflow noise levels.
The less air velocity the less interfering noise.
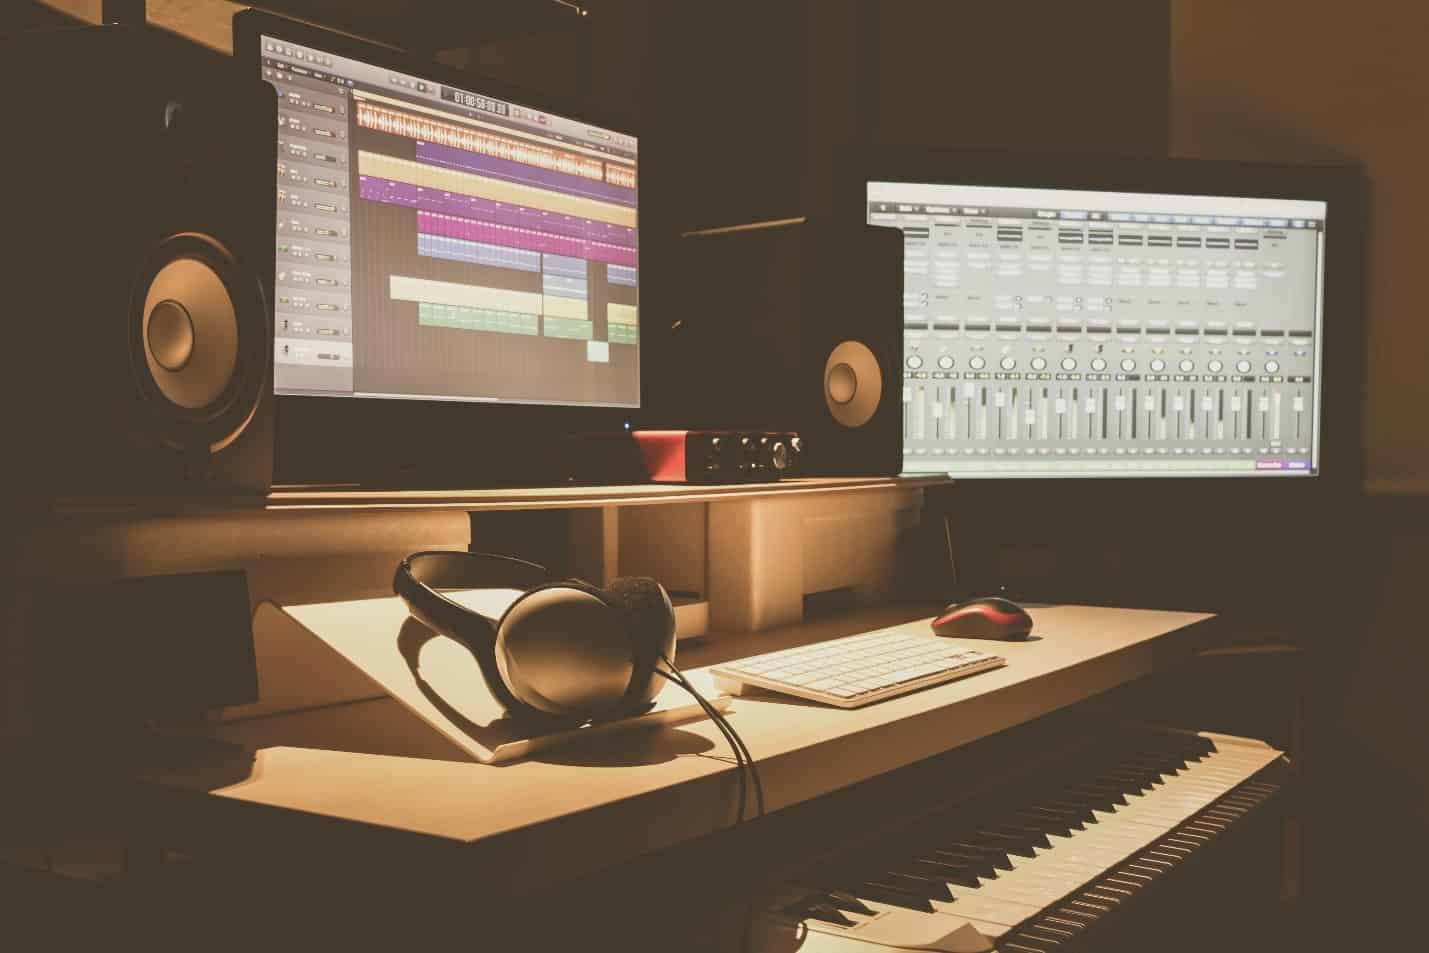
Testing the Sound Studio Equipment
With your music studio construction near completion, it is time to roll in the recording studio equipment.
You will need the electric work complete and working, the WIFI reaching a connected signal and you are ready to plug everything together and start going through the sound checks.
Test some vocals and instruments reaching a variety of different frequencies at multiple volume levels and volume levels.
It is best to monitor these sounds by recording them during sound testing. When you begin to play the recordings back you can look for distortion and interferences to adjust or make corrections in the rooms.
Bring Your Studio Vision to Life with Marwood Construction
Whether you’re designing a home studio or a professional recording space, Marwood Construction delivers expert craftsmanship, precision design, and acoustic excellence.
FAQs on Building a Recording Studio
1. What should I consider before building a recording studio?
Before building a recording studio, clearly define your goals, available space, and budget. Decide whether it’s for personal use or commercial recording, as this affects design, acoustics, and required equipment.
2. How much does it cost to build a recording studio?
The cost of building a recording studio varies widely based on size, soundproofing requirements, and equipment quality. A basic home studio might start around $3,000, while a professional-grade studio can range from tens to hundreds of thousands of dollars.
3. What is the most important aspect of a recording studio design?
Soundproofing and acoustic treatment are the most critical design aspects. Proper insulation, wall de-coupling, and STC-rated materials ensure superior sound quality and eliminate noise interference between rooms.
4. Do I need a contractor to build a recording studio?
Yes, hiring a qualified building contractor with experience in building recording studios is highly recommended. They understand acoustic construction methods, material layering, and how to design for optimal sound isolation and performance.
5. How do you soundproof a recording studio?
Soundproofing involves creating a “room within a room” using mass-air-mass construction, insulated walls, acoustic foam, bass traps, and sound-rated doors and windows. Proper ventilation design also minimizes unwanted noise.